When it comes to 5-axis CNC machines, it’s important to remember that they are only as good as how they’ve been setup. The better the setup method, the better the machine performance.
With this in mind, it is therefore important that any setup procedure is completed to the best quality it can possibly be. This includes the probe’s setup and calibration procedure.
In this article, we take a look at the things to consider to ensure probe setup and probe calibration is of the highest accuracy.
Why even calibrate your CNC touch probes?
Probes need to be calibrated to calculate the working values of the probe geometry, consisting of the ruby diameter and stylus length. Proper calibration ensures accurate measurements will be produced for any processes the probe is used for (e.g. machine setup, part setup, verification and inspection).
For 5-axis CNC machines, it is also imperative to ensure your probe is calibrated for use in full 5-axis mode. If 3-axis calibration methods are used, the probing results have limited validity.
What does calibrating the probe involve?
Essentially, it involves two stages: calibration artefact setup and probe calibration.
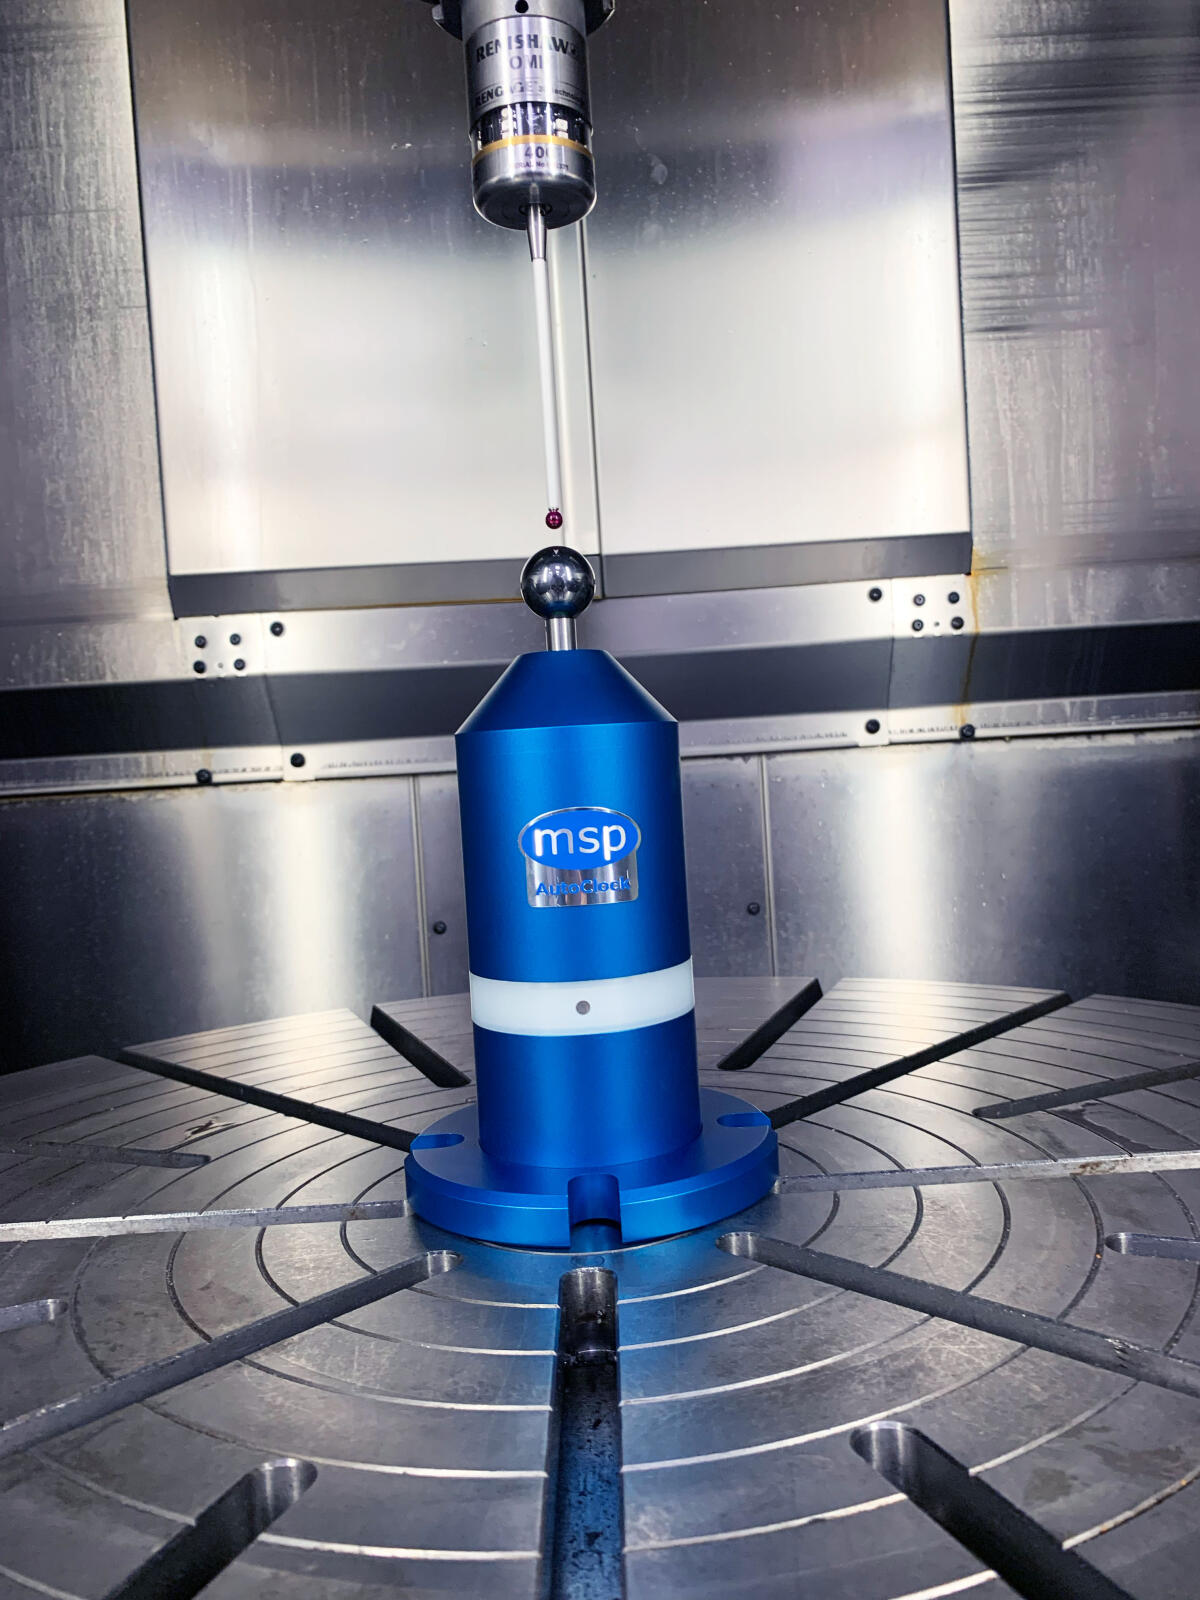
The setup stage involves placing a calibration artefact in the machine to then calibrate the probe from. A calibration artefact is typically a ring gauge or sphere with a known and accurate geometry and size. The crucial element here is to find the accurate location of this artefact in X, Y and Z so it can be entered into the work offset parameters on the CNC controller. Finding this location has traditionally been a manual process using a combination of dial test indicators, feeler gauges, slip gauges or electronic gauges.
To calibrate the probe, manufacturers may use their own calibration NC program or use the supplied cycles from the probe manufacturer.
Problems can occur in both these stages due to the manual elements involved or the unsuitability of the pre-created calibration cycles.
Any process that involves manual elements will introduce human error which can make the setup inaccurate. Each operator will have their own performance and repeatability and will differ from one to the next due to experience or environmental factors. The lack of accuracy here will start a course of error accumulation, leading to a build-up of errors on any parts being machined. If the calibration artefact is setup inaccurately, the probe will be calibrated with errors and generate inaccurate data. Errors will subsequently occur in any process using the probe, i.e. the machine’s kinematic setup, the part setup and on-machine part inspection. This will lead to high scrap and concession rates that are difficult to diagnose.
Furthermore, when the probe is calibrated using the manufacturer’s own cycles, it is not always guaranteed the calibration will be certified to the ISO standard which defines the points taken on the calibration artefact. This can be critical for ensuring the calibration is accurate and will produce correct results.
Based on these risks, it makes sense to remove any manual elements and use a method capable of generating a 5-axis probe calibration to avoid introducing errors into the process.
MSP PerfectPart can do this.
MSP PerfectPart automates calibration artefact setup and probe calibration in a single process in under two minutes to ensure accurate right-first-time parts are produced with confidence, every time.
AutoClock is a patented device that has been designed and produced by MSP. AutoClock automatically finds the location of the calibration sphere (the calibration artefact) in X, Y and Z to sub-micron accuracy. This level of accuracy is critical to ensure the probe calibration will be correct. It allows for the accurate analysis and setup of machine kinematics, accurate part setup and part inspection.
The automated AutoClock process can be run at any time, by any operator, with the same result. This repeatability ensures consistency between machines, operator skill levels and shifts. It can even be run lights-out without an operator present, ideal for automated factories.
AutoClock also promotes better Health and Safety practices by removing the requirement for an operator to enter the machine volume for extended periods of time while moving the machine.
For the second stage of the automated process, NC-Checker’s 5-axis calibration runs automatically to accurately measure the working geometry of the probe for use in multi-axis machines. The 5-axis calibration to ISO standard allows measurement in any direction, at any tool orientation using a single calibration.
And all this takes under two minutes from artefact setup to probe calibration.

Summary
Automating the probe calibration process is the foundation for unlocking right-first-time, lights-out production. Contact us now to start building your factory of the future, today. Call us on +44 (0)1665 608193 or email us on contactus@mspltd.com.
