Share this
How to accurately setup and calibrate a CNC spindle probe
by Hannah Brown on Feb 2, 2026 2:43:55 PM

If you are having problems with your probe, could it be because it has not been setup or calibrated accurately?
If you have invested in CNC spindle probes for your manufacturing process but are not getting the quality you expected and you feel like something is ‘off’, then your probe setup and/or calibration process could be to blame.
This article explains the problems with inaccurate probe setup and calibration and how to tweak the process to get micron levels of accuracy at this important stage in the part manufacturing process.
Problems with poor probe setup
Setting up the probe for calibration involves placing a calibration artefact (typically a ring gauge or sphere) into the CNC machine and using this to calibrate the probe from. The location of this artefact in X, Y and Z needs to be found and entered into the work offset parameters on the machine tool controller.
If this X, Y and Z location is inaccurate, the calibration will be inaccurate and, therefore, any data the probe generates after setup will inaccurate too, jeopardising machining results or part quality, especially if probing is used during machine checking or part setup processes.
Often the reason behind an inaccurate XYZ location is due to manual error. Traditionally, finding this location has been a manual process using equipment such as dial test indicators, feeler gauges, slip gauges or electronic gauges, all of which depend on the skill of an operator and can incur varying amounts of human error. If this manual input is removed, the chance for error to occur will be removed too.
Problems with incorrect probe calibration
CNC touch probes need to be calibrated to determine the probe geometry and the working values of the ruby diameter and stylus length. Just like the setup stage, accuracy is imperative here as this will ensure the probe will produce accurate measurements and data for any process it is used for (e.g. machine setup, part setup, verification and inspection).
Problems can arise when probes are not calibrated for the correct application, i.e. the use of a simple ring gauge as the calibration artifact limits the use of the probe to simple part applications and is not valid for more complex parts.
And if manufacturers use their own calibration NC programs or onboard cycles, there can be a risk that the calibration will not be to the correct standard that defines the points taken on the calibration artefact. This is critical to ensure the calibration is accurate and will produce accurate results, imperative if the probe is to be used for on machine inspection.

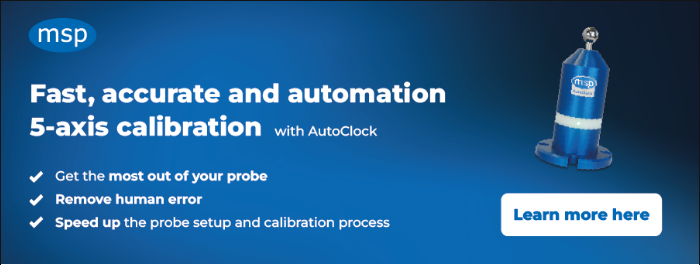
MSP's AutoClock is one of the tools needed for accurate probe setup and calibration.
How to ensure the setup and calibration of a CNC touch probe is accurate
The trick to accurate probe setup and calibration is to eliminate manual error. CNC metrology products AutoClock and NC-Checker from MSP are key here.
Together, the two products automate calibration artefact setup and probe calibration in a single process to ensure accurate right-first-time parts are produced with confidence, every time.
AutoClock automatically finds the micron-accurate location of the calibration artefact (a sphere) in X, Y and Z and updates the controller with no manual intervention required. Manual error is removed and you can be confident the XYZ values in the work offset parameters is micron-accurate.
NC-Checker’s 5-axis probe calibration runs automatically after AutoClock to accurately measure the probe’s working geometry for use in multi-axis machines. The 5-axis calibration is to ISO standard and allows for measurement in any direction, at any tool orientation using a single calibration.
Having these metrology tools as part of your repertoire will mean probe setup and calibration is micron-accurate and free from the risk of manual error.
What you gain
Automation of the process eliminates human error, giving you the confidence no error is going to ripple down into the rest of your part process. You can trust your probe and the data it is reporting back.
The automated operation of AutoClock and NC-Checker automated operation means the process can be run at any time, by operators of any skill level. This repeatability ensures consistency across machines, operators and shifts. The CNC metrology products can even be run lights-out without the requirement of an operator, a solution well-suited to automated factories.
And not only is this process more accurate than its traditional counterparts, but it is also much faster, allowing more time to be spent on machining parts rather than setup procedures.
Extra bonus? Health and safety is improved as operators are not required to enter the machine tool volume to carry out any setup or calibration routines.
Summary
If you are not getting the quality or results you expect from your probe, consider if the setup and calibration is to blame. Inaccurate probe setup and calibration can be detrimental to part production, and it is important to eliminate human error at this stage of the manufacturing process. Using MSP’s AutoClock and NC-Checker will give you an automated method which results in the accurate and repeatable probing you desire.
Share this
- February 2026 (1)
- December 2025 (1)
- August 2025 (1)
- June 2025 (2)
- April 2025 (1)
- March 2025 (2)
- January 2025 (1)
- November 2024 (1)
- April 2023 (2)
- December 2022 (2)
- July 2022 (1)
- May 2022 (4)
- November 2021 (1)
- October 2021 (1)
- September 2021 (2)
- January 2021 (1)
- December 2020 (1)
- December 2018 (1)
- August 2018 (1)
- August 2017 (1)


