Get the most out of your probes
If you use probing on 5-axis machines the probe calibration needs to be set up accurately or you will not get the best results from your probe.
Remove human error
If your operators are using DTI and feeler gauges, manual setup errors will ripple through your part processes. Automated AutoClock eliminates human error and maximises part quality.
Improve health and safety
AutoClock eliminates the need for operators to enter the volume of the machine. As part of a program of health and safety improvement it makes things safer for your people and better for your business.
Reduce part variation
The accuracy and reliability of AutoClock means you no longer need to worry about parts varying due to different probe setup processes on different machines.
Increase efficiency
Instead of wasting precious operator time, or waiting for trained operators to be available, AutoClock’s calibration process can be scheduled automatically and only takes a couple of minutes to run.
Get the most out of your probes
If you use probing on 5-axis machines the probe calibration needs to be set up accurately or you will not get the best results from your probe.
Accurate | Fast | SimpleRemove human error
If your operators are using DTI and feeler gauges, manual setup errors will ripple through your part processes. Automated AutoClock eliminates human error and maximises part quality.
Safe | Reliable | AutomatedImprove health and safety
AutoClock eliminates the need for operators to enter the volume of the machine. As part of a program of health and safety improvement it makes things safer for your people and better for your business.
Closed-door | Lights-out | SafeReduce part variation
The accuracy and reliability of AutoClock means you no longer need to worry about parts varying due to different probe setup processes on different machines.
Consistent | Repeatable | AccurateIncrease efficiency
Instead of wasting precious operator time, or waiting for trained operators to be available, AutoClock’s calibration process can be scheduled automatically and only takes a couple of minutes to run.
Trusted | Fast | SimpleProduct Benefits

Automate everything
Set up your probe automatically with no human intervention.
Eliminate errors
Remove the risk of manual error when using a slip gauge during probe setup.
Simplify processes
Be assured that your probes are set up in the same way, every time.

Remove variation
Make sure the work offset is always accurate before machining parts.

Detect errors

Control changes
Speed up part jobs
Fix stylus runout
Machine 24/7
Watch AutoClock in action
Follow the process:
The sphere is measured
The probe carries out measurements in X and Y to find the rough centre of the sphere.
The Z height is measured
The probe finds the current Z height of the centre of the sphere as determined by the machine and the controller.
The device is switched on
A calibrated length bar is used to turn on the AutoClock and initialise the automation software.
The AutoClock calibration is run
The calibrated length bar is used to determine the actual Z height of the centre of the sphere, within one micron.
The AutoClock calibration is verified
The calibration sequence is run again to verify the new Z height and then the Z height is automatically updated on the controller.
You're all set up and ready to go
You can continue with your probe calibration safe in the knowledge there are no errors in your probe setup.
Don't just take our word for it


Formula 1 team reduce part setup by 9.5 hours
Read more here
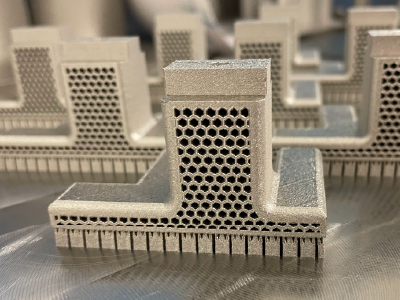
SST now producing 7 times more parts per week
Read more here
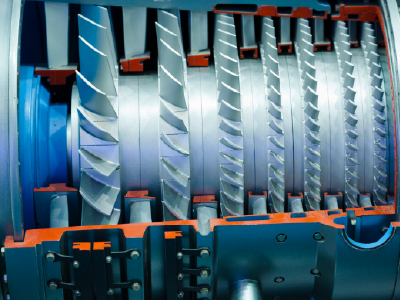
Doncasters increase productivity by 100%
Read more here

Formula 1 team reduce part setup by 9.5 hours
Read more here

SST now producing 7 times more parts per week
Read more here

Doncasters increase productivity by 100%
Read more here
Top AutoClock FAQs
AutoClock is best used in automated mode but there is also a semi-automated option.
In automated mode, you configure the macro parameters, run the automated macro on the controller, and the NC-AutoClock software communicates directly with both the AutoClock and the controller via WiFi. NC-AutoClock automatically updates the work offset on the controller
In semi-automated mode, you configure the macro parameters, run the manual macro on the controller, then view the new work offset on a WiFi-enabled device. During the calibration and verification sequences, you manually update the work offset on the machine controller.
AutoClock is pre-configured for use on the following controllers:
- Siemens
- Heidenhain
- Fanuc
- Mazak
- Okuma
If you are an experienced operator and capable of macro programming for your controller, we can provide guides for self programming AutoClock for use on other controllers.
The NC-AutoClock software integrates directly with the controller and the automated AutoClock macro drives the AutoClock device.
NC-AutoClock must run on a PC-based device that has an Ethernet connection to the controller and a WiFi connection to the AutoClock device.
NC-AutoClock detects the calculated XYZ work offset and updates the controller automatically.
As part of the AutoClock macro, a verification sequence is run to confirm that the automatic update of the work offset has been successful.
This gives you 100% confidence in the AutoClock calibration result.
AutoClock matches the electronic parameters in the machine controller with the mechanical movements made by the machine. AutoClock’s calibration sequence verifies the position of the work offset (usually Z) within 1-2 microns.
This is just as important with 3-axis machines as it is with 5-axis machines if you want to use probing to improve your stock material setup and make accurate parts.
AutoClock is a WiFi-enabled device that requires no hard-wiring into your machine tool.
Semi-automated mode requires a WiFi-enabled device, such as a mobile phone, tablet or WiFi-enabled PC.
Automated mode requires a Windows-based PC or other interface device that can connect via Ethernet to the controller, and through WiFi to the AutoClock.
If your PC does not have built-in WiFi capability, MSP can supply a WiFi dongle as part of your delivery pack. This may need to be purchased in your country of origin, if applicable.


